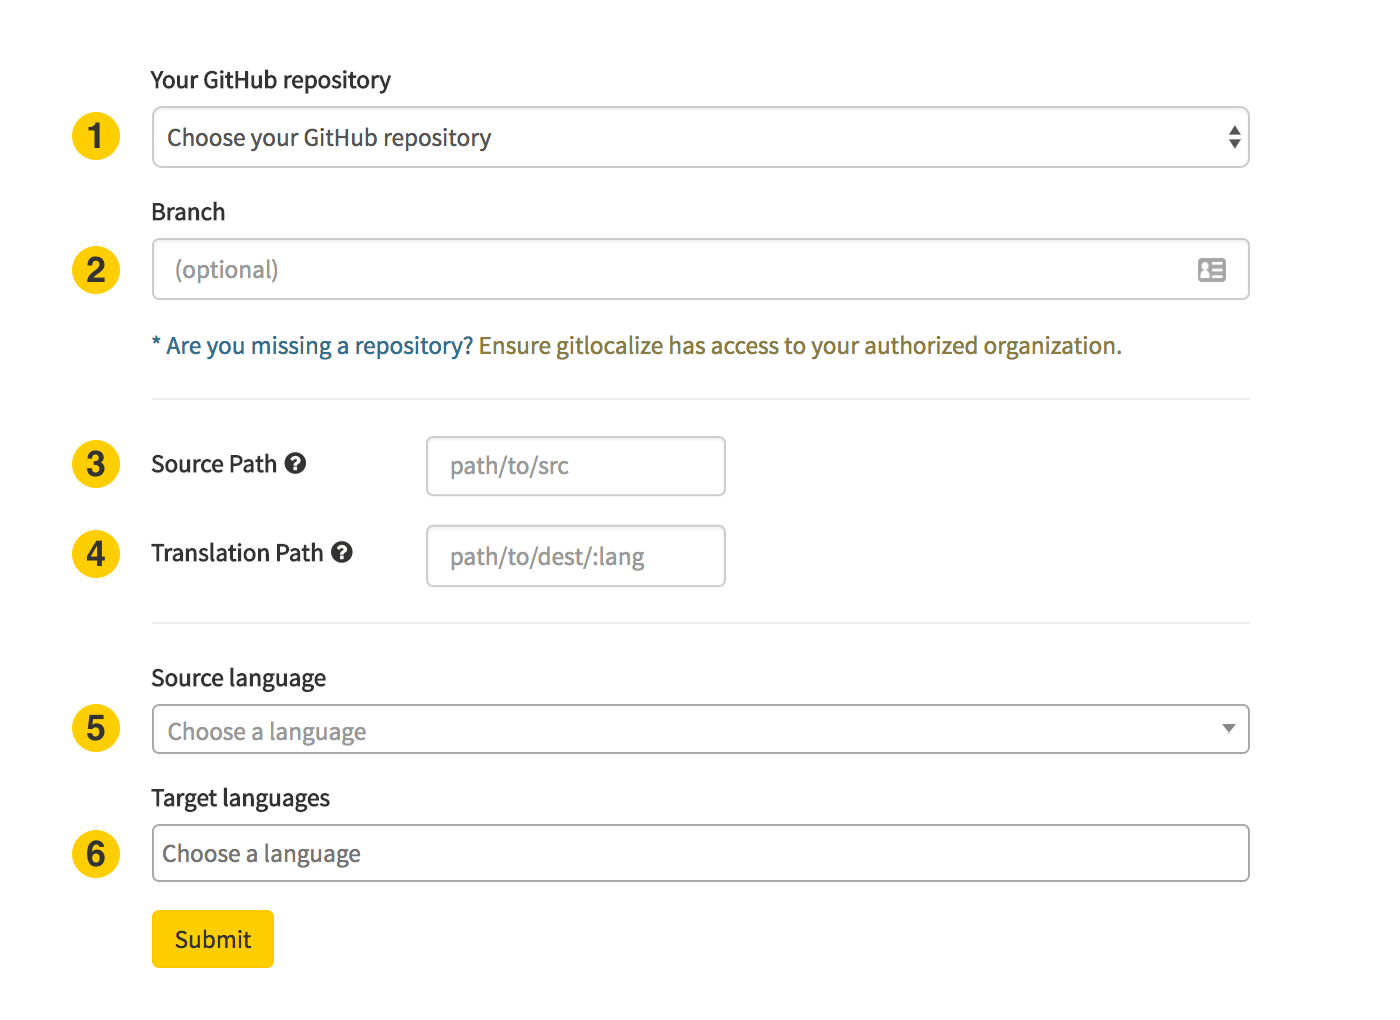
Form fields
required
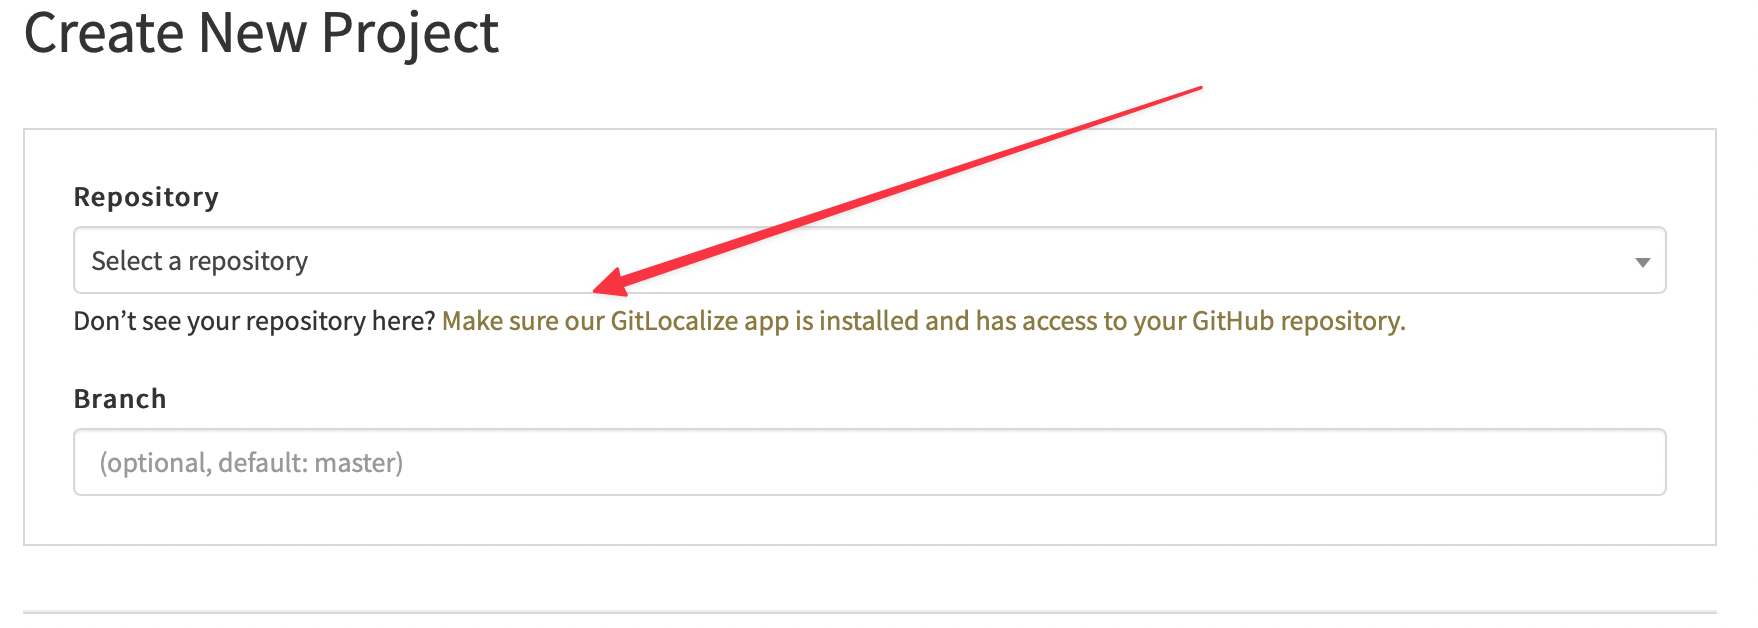
The GitHub repository to localize. Only repositories the GitLocalize App can access appear here —
see Private repositories if yours is missing.
The branch to sync from. Defaults to
master.required
Where the translatable files live. See Paths and languages.
required
Where GitLocalize writes translated files. The
%lang% placeholder splits output by language. See
Paths and languages.required
The language the original files are written in.
required
The languages to translate into. More can be added later.
Private repositories
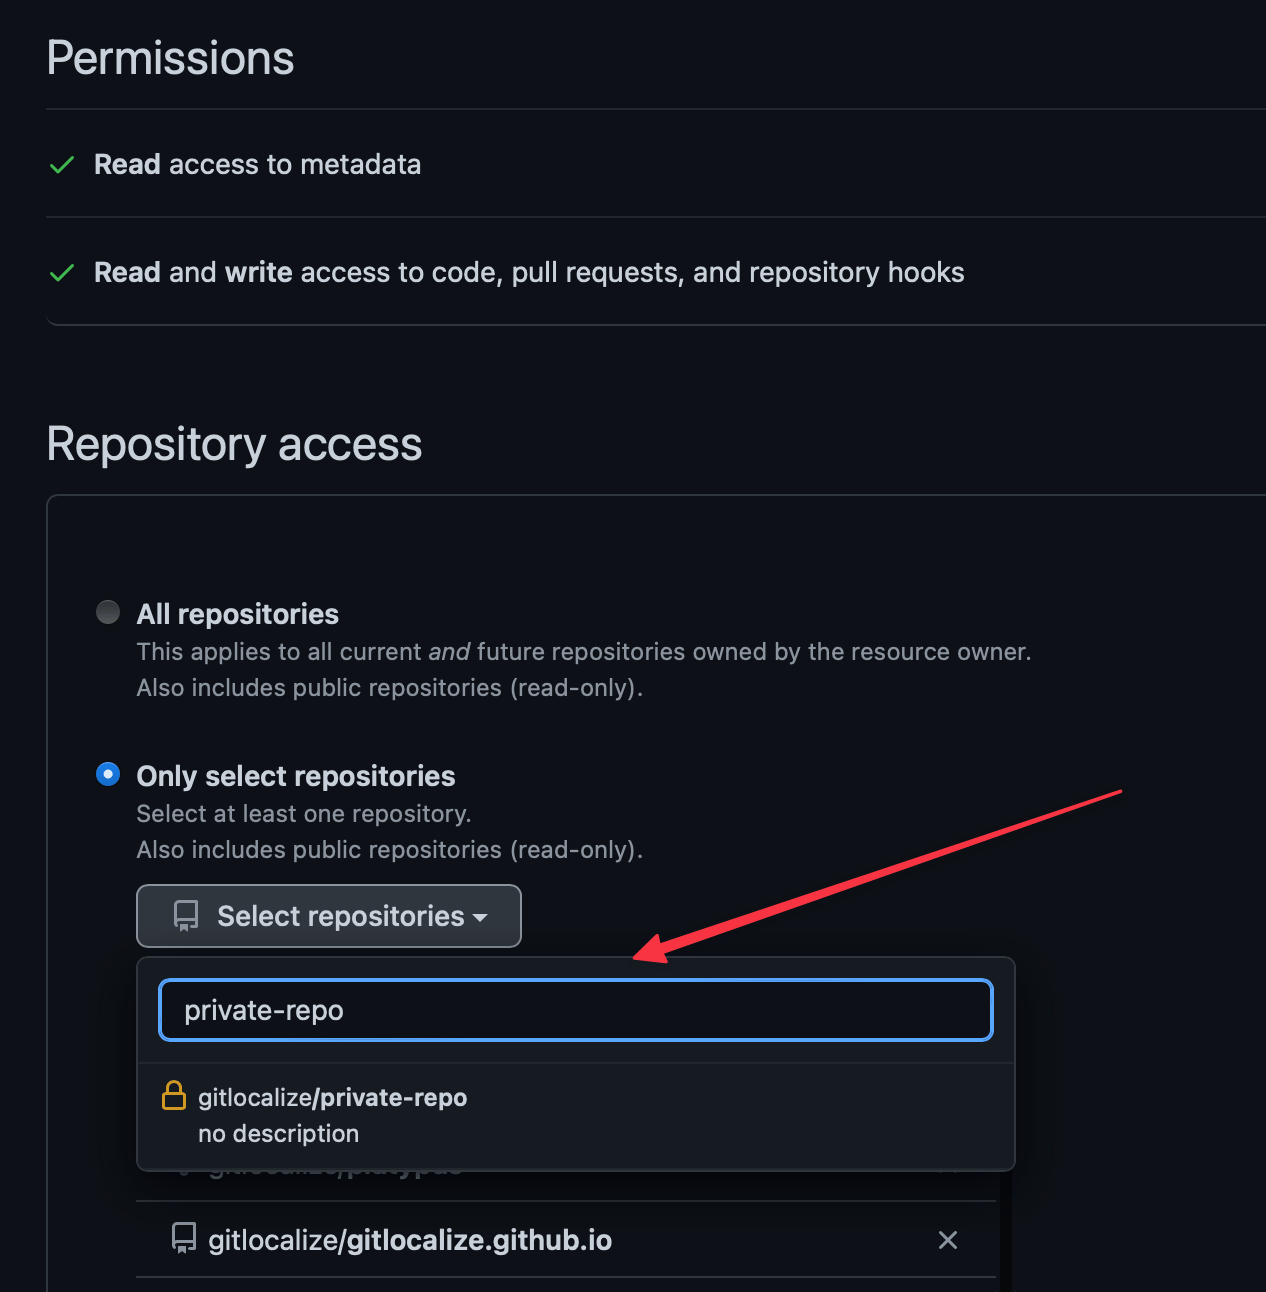
Both public and private repositories can be connected. A private repository owned by a GitHub organization additionally requires that you hold the Owner role in that organization. A repository that is private on GitHub stays private on GitLocalize — see Visibility.When a repository doesn’t appear in the list
The GitLocalize App has not been granted access to it. Click the link below the repository selector: