Getting Started
Integrating your repository with GitLocalize only takes a few minutes!
Signing up to GitLocalize
First, go to gitlocalize.com and sign up with your GitHub account.
Click either the "Sign up" button at the top right or the "Get started with GitHub" button on the left. Next, you will be prompted to authorize your account with our GitHub app.
Add Project
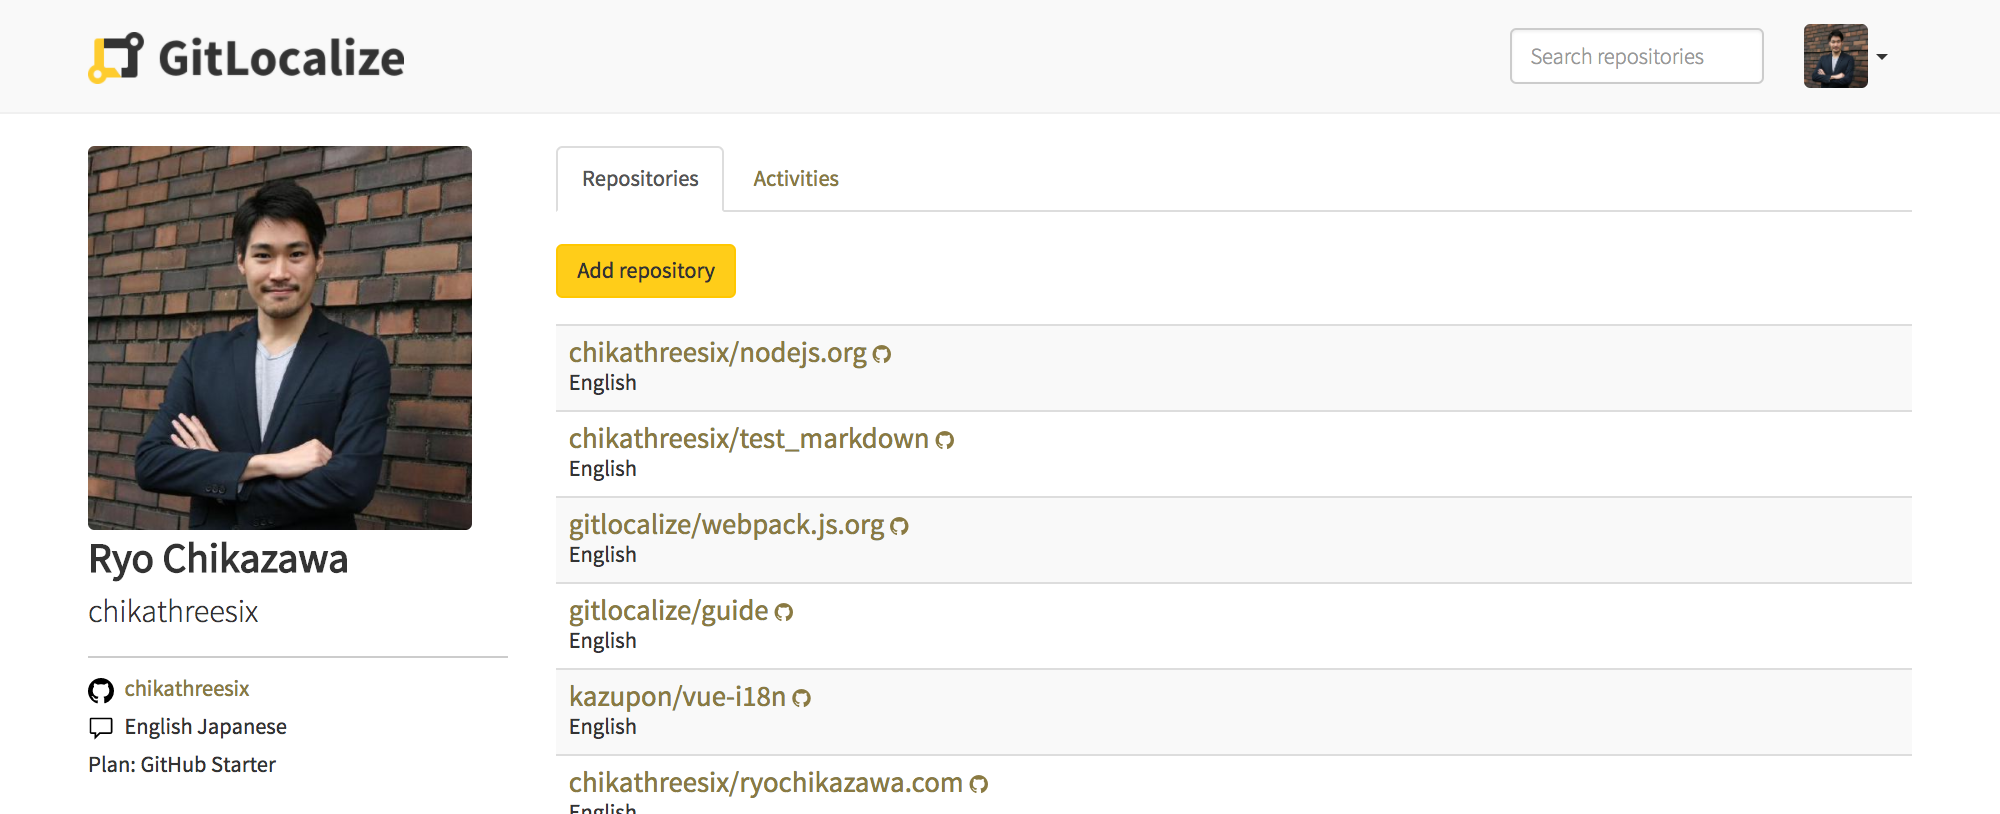
Once you sign up, click the Add repository button on your Projects page.
Fill in the form to configure your repository environment.
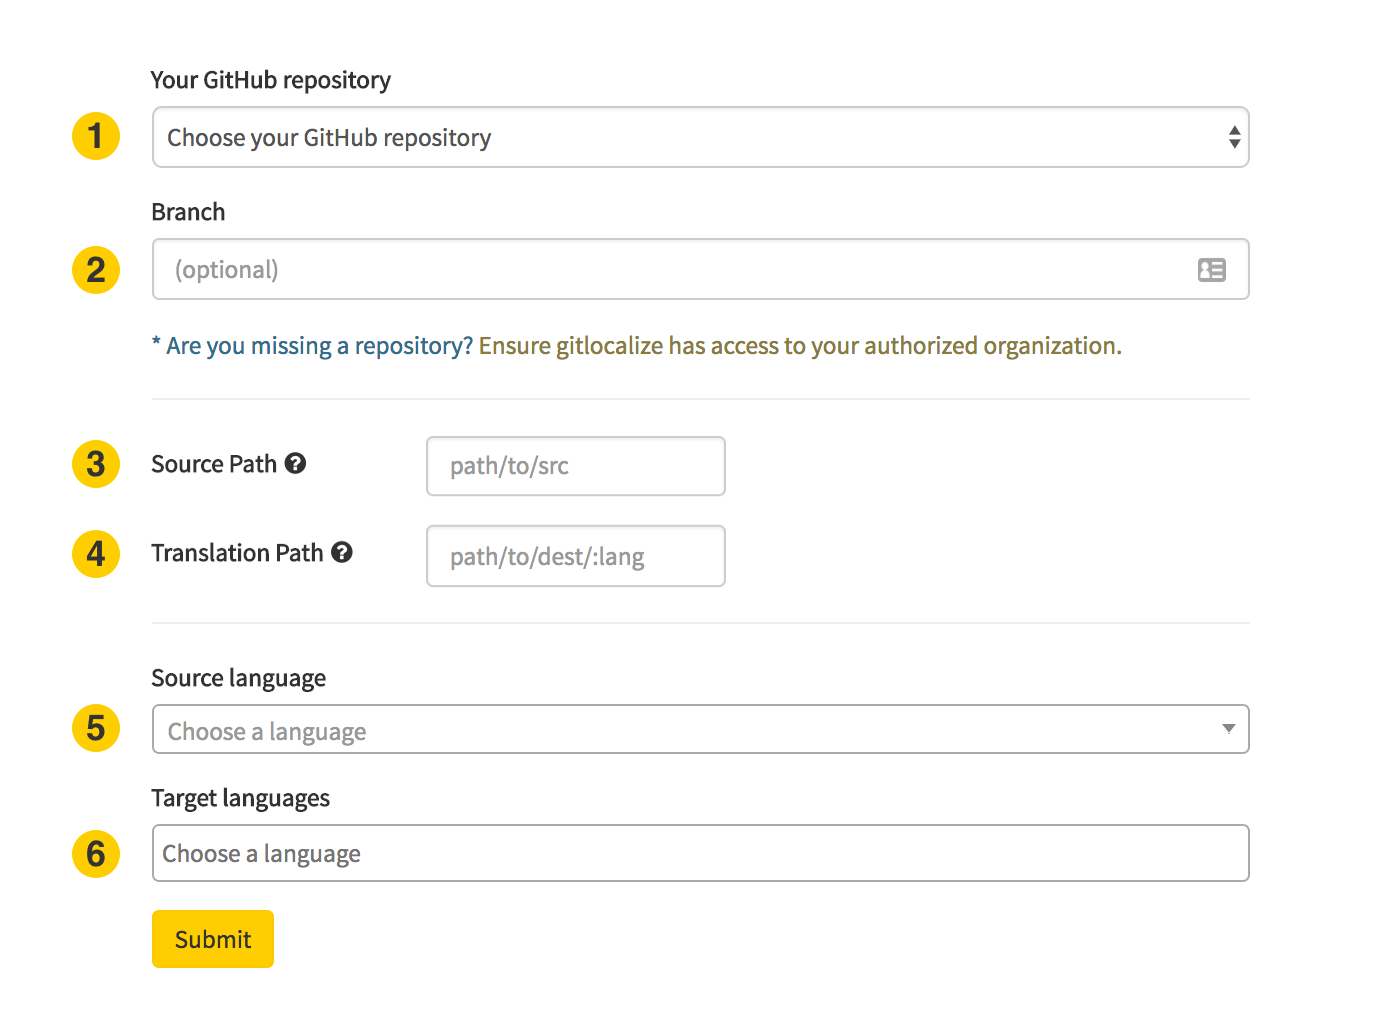
- Select the repository that you want to localize.
- Select the branch (Optional field. GitLocalize will use master by default).
- Specify the Source Path, i.e. the directory where the translatable files are stored.
- Specify the Target Path, where GitLocalize will generate the translated files.
- Select the language of the source files.
- Select the target languages you want to translate to.
Translate
Once the repository is successfully added, GitLocalize will pull the target files into the project. This may take some time depending on the size of your repository and the number of files.
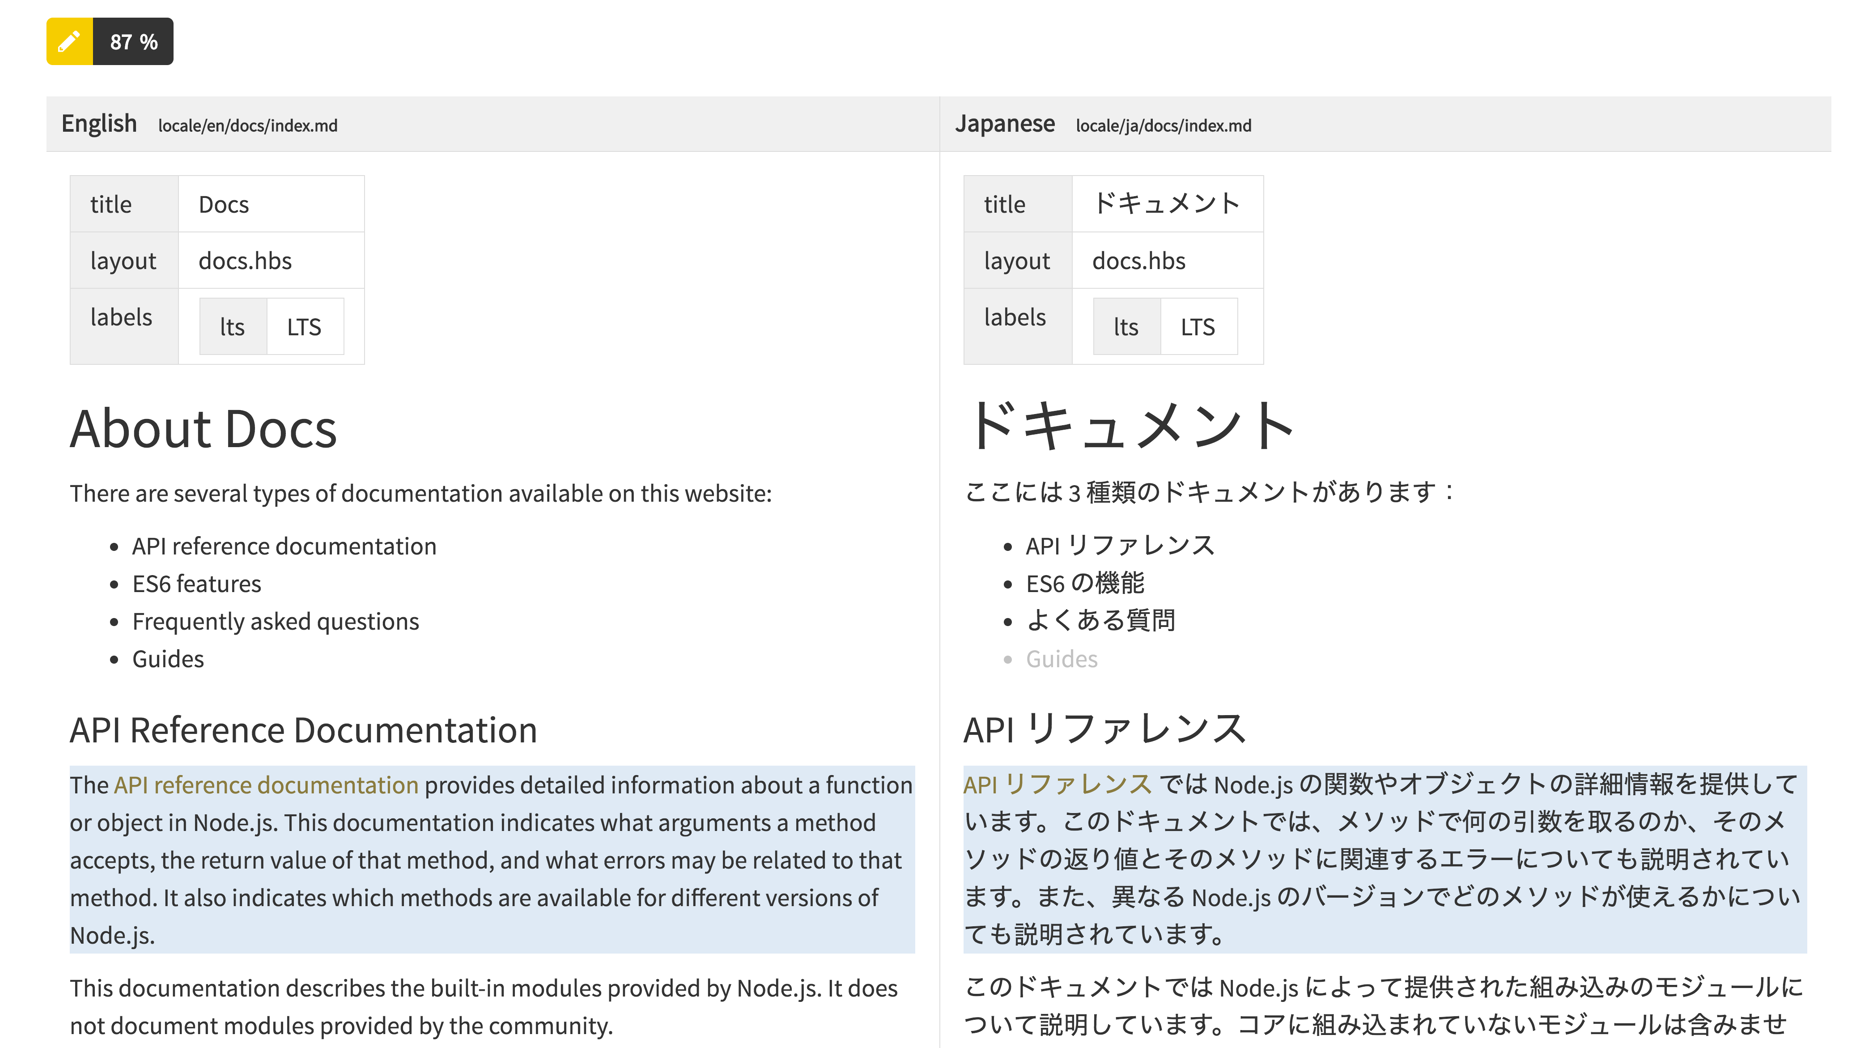
Once GitLocalize finishes pulling the files, you can start translating in the split-view editor. GitLocalize breaks the files down into translatable segments, automatically links the translation with the version in the source language, highlighting the sections that are missing translations.
Review
After translating the file, click the Create Review Request button next to the status icon. This will notify your team that you are done and will allow you to discuss the updates as you would normally do with a pull request.
Pull Request
Once the team is satisfied with the revisions, the language moderator can send a pull request back to the repository, which can then be merged on the GitHub side.